Back in the day, I used to eat a lot of yogurt.
When we switched to a plant based diet, it was one of the things I stopped buying completely for a long time. Then, last year my grocery store started carrying dairy free Coconut Yogurt. The yogurt was dairy free but there were a lot of ingredients on the package that I didn’t recognize. I’d buy it occasionally to get my yogurt fix but I really wanted to figure out how to make my own healthier version.
Well, that project has been on my “To Do” list for a long, long time and I finally tackled it!
Experimenting with Coconut Milks
I wanted the creamiest and healthiest yogurt possible so I did some experimenting using several different coconut milks:
-
Homemade Coconut Milk (made with 3 cups boiling water and 1 cup shredded coconut, blended and strained with a nut milk bag.)
-
Homemade Coconut Milk (made with the meat of 1 young Thai coconut and 1/2 cup of coconut water, blended)
-
Full Fat Canned Coconut Milk (I used Thai Kitchen and Native Forest brands)
-
Canned Coconut Cream
I’ve read that refrigerated Coconut Milk (found in the dairy section) contains too many additives for yogurt making so I did not consider these.
The Yogurt Starter
For the yogurt starter, I used 1-2 capsules of my favorite, allergy-friendly probiotics. (Be aware that some probiotics contain dairy and/or gluten.) I found that 1 capsule per cup (2 capsules per can) worked best.
Rather than use a yogurt maker (which I don’t have) or my Excalibur dehydrator (a good substitute for a yogurt maker,) I opted to try the easy method of just leaving my yogurt out on the counter for 24 hours. It worked like a charm.
The Results
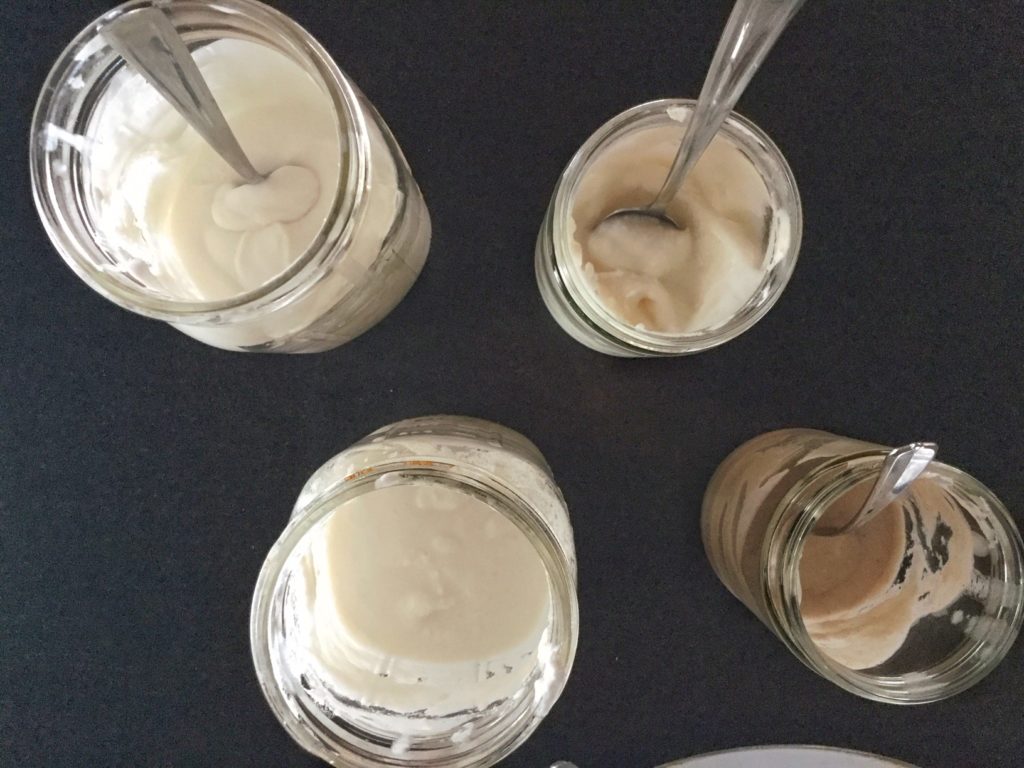
I ended up making four different yogurts, each using a different type of coconut milk. I added 1 probiotic capsule (emptied) to each cup of coconut milk (2 capsules per can) and left each out on the counter for 24 hours.
At the end of 24 hours, I refrigerated the yogurt for several hours until cold.
Least Favorites:
Homemade Coconut Milk (made with shredded coconut & water)
While I make this homemade coconut milk quite often for other uses, I did not enjoy it as a base for my yogurt. This was my least favorite yogurt. It lacked the creaminess and flavor of the other yogurts and I ended up adding Agar powder to thicken it a bit. The texture was not good both before and after the Agar powder.
Canned Coconut Cream
The yogurt made with canned coconut cream was creamy and delicious but not the normal texture of yogurt. It was definitely more of a cream consistency and it reminded me a lot of Cool Whip. Also, it is higher in fat and calories than regular, full fat coconut milk.

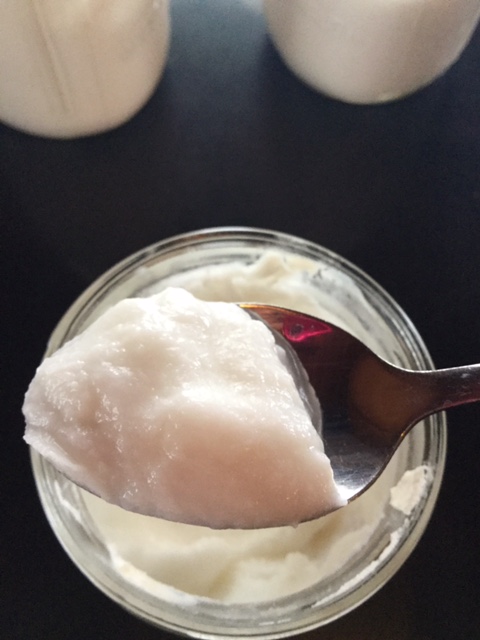
Top Favorites:
Homemade Coconut Milk (made with young Thai coconut meat and coconut water)
While this is the healthiest and most natural of the yogurts I made, it was also the most expensive to make and yielded half of the amount of yogurt (amounts will vary by coconut.) If I lived in the tropics or had better access to young Thai coconuts, this would be my top choice. It was creamy and delicious and it rated #1 with my kids. I really wish this was a practical choice for me.
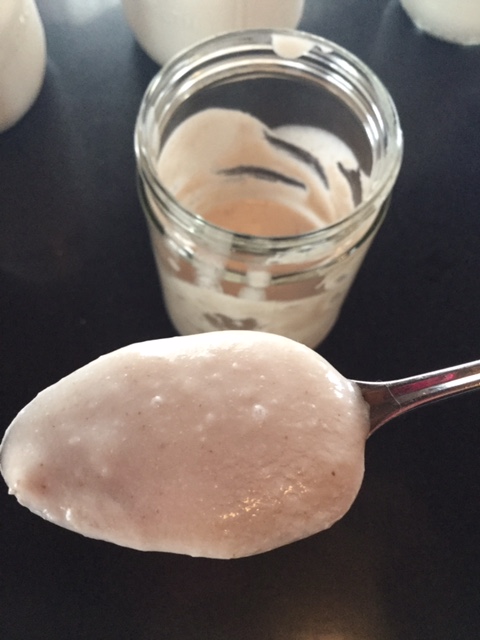
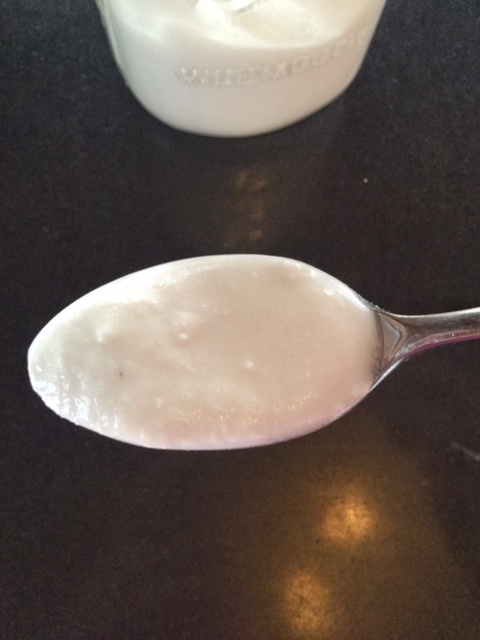
Full Fat Canned Coconut Milk (I used Thai Kitchen and Native Forest brands)
While the yogurt I made with young Thai coconut milk stood out for flavor and nutrition, I felt that for ease of making, price and availability of ingredients, the yogurt made with full fat coconut milk was a more realistic option for me to make on regular basis.
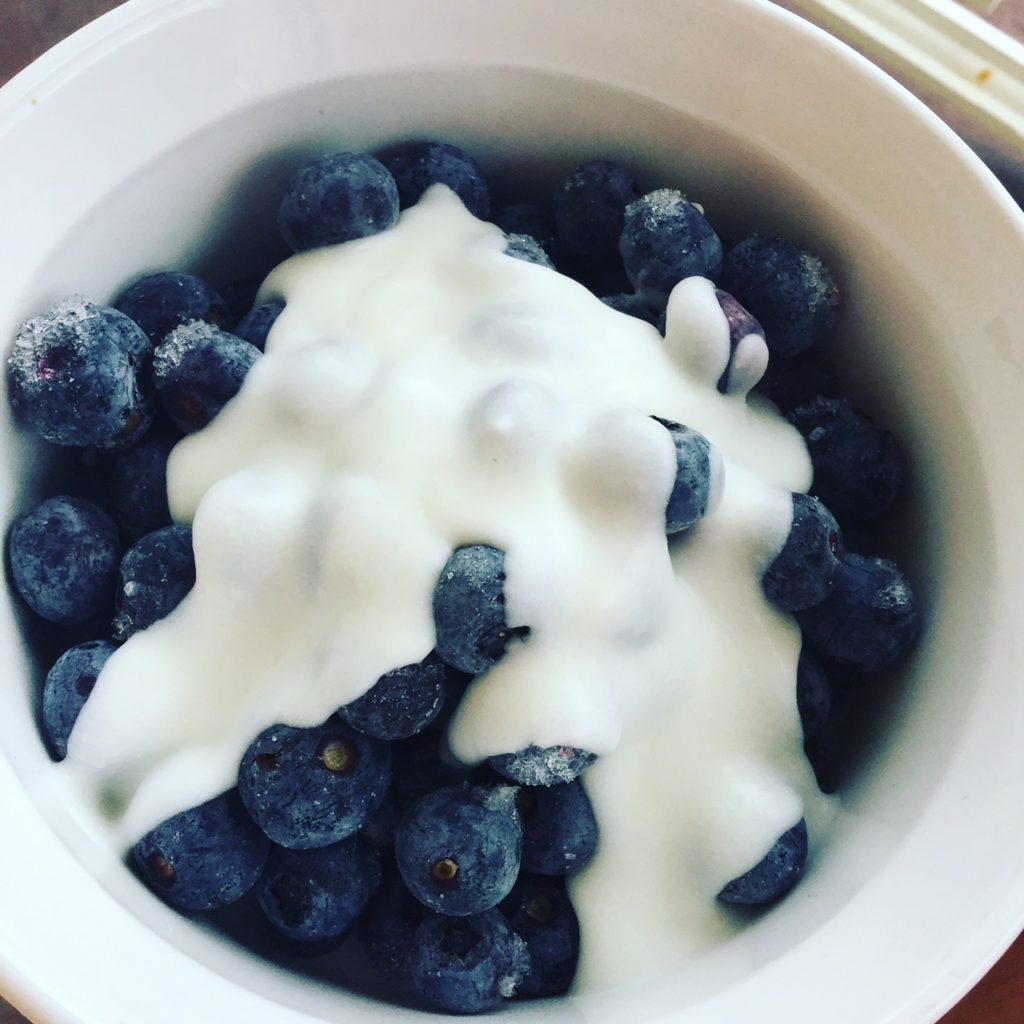
It was creamy with lots of coconut flavor and a little thinner than your typical yogurt. I found this consistency to be perfect to add to smoothies or drizzled over fruit. If you are looking for a thicker yogurt, you could easily adjust the thickness by refrigerating the canned coconut milk for a few hours until the fat and liquid separate and then draining off a tablespoon or two of the liquid before adding the probiotics. If it’s winter and your house is cool, you probably won’t even need to refrigerate it.
Have you ever experimented with homemade dairy free yogurt? It’s easier than I thought it would be! I might even give almond or cashew milk yogurt a try in the near future! I hope you’ll give this one a try!
Enjoy!
Jen
How to Make Coconut Milk Yogurt
Ingredients:
-
1 can full fat coconut milk (choose a brand without a lot of added ingredients — I used Native Forest
-
2 probiotic capsules (I used this brand
-
Sweetener of choice, to taste (optional)
-
1/4 – 1/2 tsp vanilla extract (optional)
Instructions:
-
Before opening the can of coconut milk, shake it well or if your home is cool and the milk has solidified, blend in a blender until smooth.
-
Add the coconut milk and empty the probiotic capsules into a glass jar. Stir to combine and cover with a coffee filter or piece of muslin or cloth. You want your yogurt exposed to some air while keeping out any dust or bugs.
-
Let your covered yogurt sit on the counter for 24 hours. Stir once or twice.
-
After 24 hours, stir your yogurt and place in the refrigerator until cold. The yogurt will firm up as it cools.
-
Sweeten, if desired with pure maple syrup or honey and/or vanilla extract.
Recipe Notes :
For a thicker yogurt, refrigerate the canned coconut for a few hours until the fat and liquid separate then drain off a tablespoon or two of the liquid before preparing your yogurt.

Subscribe Here
Enjoy this post? Share & Like

| Prep Time | 5 minutes |
| Passive Time | 24 hours |
| Servings |
cups
|
Ingredients
Ingredients
|
|
Instructions
- Before opening the can of coconut milk, shake the can or if your home is cool, blend in a blender until smooth.
- Add the coconut milk and empty the probiotic capsules into a glass jar. Stir to combine and cover with a coffee filter or piece of muslin or cloth. You want your yogurt exposed to some air while keeping out any dust or bugs.
- Let your covered yogurt sit on the counter for 24 hours. Stir once or twice before it's ready.
- After 24 hours, stir your yogurt and place in the refrigerator until cool. The yogurt will firm up as it cools.
- Sweeten, if desired with pure maple syrup or honey and/or vanilla extract.
Recipe Notes
For a thicker yogurt, refrigerate the canned coconut for a few hours. Drain off a tablespoon or two of the liquid before preparing your yogurt.
Recipe by Jennifer Prentice @ www.myhealthyhomemadelife.com. Complete recipe instructions can be found at www.myhealthyhomemadelife.com/recipe/make-coconut-milk-yogurt/
Share this Recipe

6 Comments